Strawberry spinach salad, a light, summery, delicious and refreshing salad with a lovely combination of flavors and textures!

It’s weird how the weather changes in a snap. Just when it was getting warm last week, it begins to cool down. I made this spinach and strawberry salad last week on a nice warm day. Fast forward to yesterday, and this salad was our lunch again. That’s twice in two weeks! And no complaints of this repeat 😀

- WHAT TO PUT IN STRAWBERRY AND SPINACH SALAD?
- STRAWBERRY SPINACH SALAD DRESSING
- HERE ARE SOME MORE VARIATIONS TO THIS DELICIOUS STRAWBERRY SPINACH SALAD
- DO CHECK OUT THESE DELICIOUS SUMMER SALADS TOO
- STEP BY STEP INSTRUCTIONS TO MAKE STRAWBERRY AND SPINACH SALAD | SPINACH SALAD WITH STRAWBERRIES AND PECANS
- HOW TO MAKE STRAWBERRY SPINACH SALAD WITH BALSAMIC VINAIGRETTE RECIPE?
- Strawberry Spinach Salad With Balsamic Dressing
WHAT TO PUT IN STRAWBERRY AND SPINACH SALAD?
Besides, strawberry and spinach, of course, you can add whatever you like into this spinach strawberry salad. I’ve kept the ingredients minimal and used the following,
- Baby spinach and spring mix: I did a mix of 50/50 baby spinach and spring mix, simply to add more color to this salad. It is just as good with just baby spinach as well.
- Lots of fresh strawberries
- Thinly sliced red onion: If you don’t like raw onions in your salad, leave them out, it won’t matter. Here’s a tip though to remove that pungency of raw onions. Simply soak the sliced onions in cold water for 10 minutes. Discard the water and your onions are all ready for any salad.
- Nuts: I’ve used toasted pecans, but you could also use other nuts like walnuts, pistachios, cashew nuts or almonds. For a really delicious twist, use candied pecans. They make this salad even better. Of course, if you are watching your sugar intake, stick to the dry toasted pecans, like I’ve used today here.
- Cheese: I’ve used Goat cheese for this spinach salad with strawberries. I love the creaminess of goat cheese, that compliments the sweetness of the fresh, juicy strawberries really well! You can also opt-in for feta cheese, blue cheese, gorgonzola or any other cheese of your choice.
- Other topping options: Cooked and crumbled bacon, homemade croutons, cranberries etc
I sometimes make a strawberry chicken spinach salad by adding some diced rotisserie chicken breasts. The addition of protein makes it a really hearty and healthy meal. So good!

STRAWBERRY SPINACH SALAD DRESSING
I dressed this spinach salad with my tangy-sweet, and smooth balsamic vinaigrette! A bite of this strawberry spinach pecan salad is like a summer party in your mouth! We are obsessed with this salad and enjoy it frequently.
Though we think that the best dressing for strawberry spinach salad is balsamic vinaigrette, that’s totally a matter of preference. Here are some more delicious salad dressing options that you can choose to dress up a strawberry spinach salad with goat cheese.
- Citrus/lemon dressing
- Poppyseed dressing
- Strawberry vinaigrette
- Raspberry vinaigrette.
I don’t have these recipes on the blog yet, but I hope to share some of these soon.

HERE ARE SOME MORE VARIATIONS TO THIS DELICIOUS STRAWBERRY SPINACH SALAD
- Strawberry kiwi spinach salad: Peel and slice a kiwi and add to this recipe.
- Strawberry orange spinach salad: Add orange segments along with the sliced strawberries. You can add any variety of orange, Cara Cara, Navel, Blood Oranges, mandarins, tangerines, they all work great and add a nice citrusy note to this salad.
- Spinach salad with strawberries and feta: Use crumbled feta cheese instead of goat cheese.
- Strawberry pasta spinach salad: Use your favorite pasta, about 2 cups of dried pasta, cooked as per package instructions, drained, cooled and add it to the salad.
- Strawberry-blueberry spinach salad: Swap out the strawberries with blueberries or use any other summer berry of your choice or better still a mix of berries.
- Strawberry avocado spinach salad: Add a diced avocado in this salad. I love adding avocados to this salad if I happen to have some at hand. It adds a nice creamy flair, and also boosts the nutritional value of the salad with some healthy fats! Highly recommended!

DO CHECK OUT THESE DELICIOUS SUMMER SALADS TOO
- Caprese Salad
- Watermelon Cucumber Feta Salad
- Mediterranean Quinoa and Chickpea Salad
STEP BY STEP INSTRUCTIONS TO MAKE STRAWBERRY AND SPINACH SALAD | SPINACH SALAD WITH STRAWBERRIES AND PECANS
1.Heat a skillet over medium heat. Add the pecans, and toast them for a few minutes until they begin to brown and turn fragrant. Transfer from the skillet to a plate and let it cool completely.

2.Wash and hull the strawberries and cut into 1/4 inch thick slices.

3.Dress up the greens first: Place the greens in a large bowl, drizzle about 2 tbsp of dressing. Toss the leaves gently with your hands to coat the leaves well.

4.Place the dressed up greens in a shallow bowl, top with strawberries, sliced onions, pecans, and cheese. You could place all the ingredients in separate bowls, and let each person assemble their salad in a plate or small wide bowl instead.

5.Drizzle some more balsamic dressing, reserving the rest to serve along with the salad if required. Toss very gently and serve right away.

NOTES
- This salad is best served cold. Use refrigerated spinach and strawberries. Make sure the greens are completely dry.
- Do not dress up the salad until ready to serve. The greens will begin to wilt the longer it sits.
- You can chop up the toasted pecans into smaller pieces.
HOW TO MAKE STRAWBERRY SPINACH SALAD WITH BALSAMIC VINAIGRETTE RECIPE?

Strawberry Spinach Salad With Balsamic Dressing
Ingredients1x2x3x
Measuring cup used, 1 cup = 250 ml, 1 tsp = 5 ml
- 5.5 oz baby spinach and spring mix greens, or use only baby spinach, approx 6 cups
- 8 oz strawberries, 1.5 cups sliced strawberries
- 2 tbsp finely sliced red onion, optional
- 1/3 cup raw pecans
- 2 oz crumbled goat cheese, or any other cheese of choice
For the Balsamic vinaigrette
- 1/4 cup extra virgin olive oil
- 2 tbsp good balsamic vinegar
- 1 tsp dijon mustard
- 1/2 tsp garlic powder
- 1/4 tsp dried basil
- 1/4 tsp salt, or to taste
- 1/8 tsp freshly cracked pepper
Instructions
- Heat a skillet over medium heat. Add the pecans, and toast them for a few minutes until they begin to brown and turn fragrant. Transfer from the skillet to a plate and let it cool completely.
- Hull the strawberries and cut into 1/4 inch thick slices.
- Dress up the greens first: Place the greens in a large bowl, drizzle about 2 tbsp of dressing. Toss the leaves gently with your hands to coat the leaves well.
- Place the dressed up greens in a shallow bowl, top with strawberries, sliced onions, pecans, and cheese. You could place all the ingredients in separate bowls, and let each person assemble their salad in a plate or small wide bowl instead.
- Drizzle some more balsamic dressing, reserving the rest to serve along with the salad if required. Toss very gently and serve right away.
Notes
- This salad is best served cold. Use refrigerated spinach and strawberries. Make sure the greens are completely dry.
- Do not dress up the salad until ready to serve. The greens will begin to wilt the longer it sits.
- You can chop up the toasted pecans into smaller pieces.
Nutrition

If you haven’t tried this yet, please do give it a go! I am certain you will enjoy this summer spinach salad with strawberries as much as we do!
I would love to hear from you if you do! Please feel free to share your feedback with photos and suggestions to me at aromaticessence77@gmail.com
You can also follow me on :
Regards,
Freda

Strawberry Spinach Salad With Balsamic Dressing
Ingredients
Measuring cup used, 1 cup = 250 ml, 1 tsp = 5 ml
- 5.5 oz baby spinach and spring mix greens, or use only baby spinach, approx 6 cups
- 8 oz strawberries, 1.5 cups sliced strawberries
- 2 tbsp finely sliced red onion, optional
- 1/3 cup raw pecans
- 2 oz crumbled goat cheese, or any other cheese of choice
For the Balsamic vinaigrette
- 1/4 cup extra virgin olive oil
- 2 tbsp good balsamic vinegar
- 1 tsp dijon mustard
- 1/2 tsp garlic powder
- 1/4 tsp dried basil
- 1/4 tsp salt, or to taste
- 1/8 tsp freshly cracked pepper
Instructions
- Heat a skillet over medium heat. Add the pecans, and toast them for a few minutes until they begin to brown and turn fragrant. Transfer from the skillet to a plate and let it cool completely.
- Hull the strawberries and cut into 1/4 inch thick slices.
- Dress up the greens first: Place the greens in a large bowl, drizzle about 2 tbsp of dressing. Toss the leaves gently with your hands to coat the leaves well.
- Place the dressed up greens in a shallow bowl, top with strawberries, sliced onions, pecans, and cheese. You could place all the ingredients in separate bowls, and let each person assemble their salad in a plate or small wide bowl instead.
- Drizzle some more balsamic dressing, reserving the rest to serve along with the salad if required. Toss very gently and serve right away.
Notes
- This salad is best served cold. Use refrigerated spinach and strawberries. Make sure the greens are completely dry.
- Do not dress up the salad until ready to serve. The greens will begin to wilt the longer it sits.
- You can chop up the toasted pecans into smaller pieces.
Nutrition
This New York Style Instant Pot cheesecake in jars is a fun and cute dessert idea, perfect for small parties, gatherings and makes a lovely portable dessert for picnics!
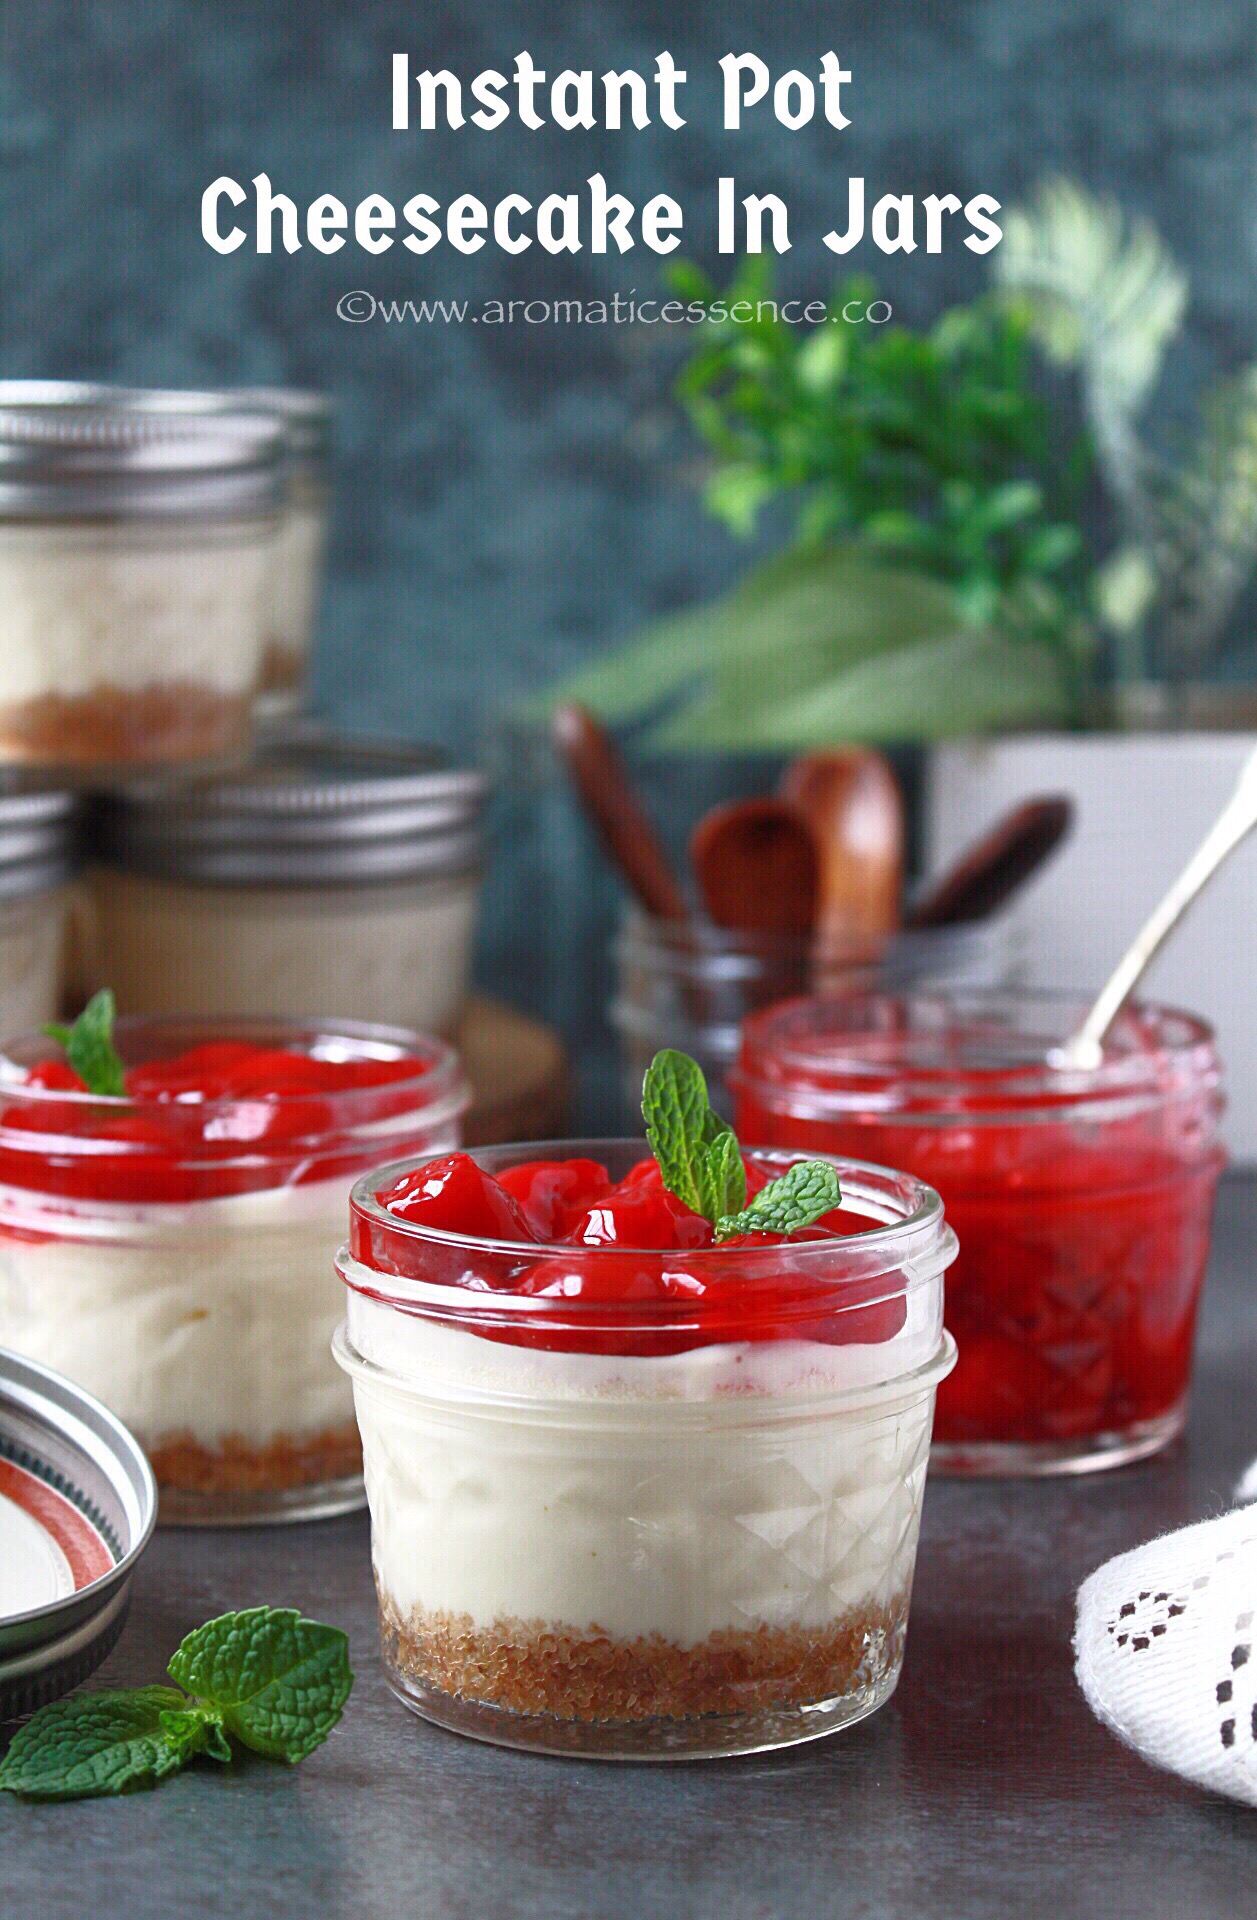
This easy Instant Pot cheesecake in a jar topped with cherry pie filling is a gorgeous and cute Instant Pot dessert idea.
After trying all sorts of savory dishes in the Instant Pot, I had the urge to try making something sweet, after all, we all do have a big sweet tooth which is no secret here! The first dessert I actually tried in the Instant Pot was kheer (Indian rice pudding). And after that, I’ve been continuously experimenting with savory dishes.
A few days ago, I did try making Instant Pot cheesecake using my regular baked cheesecake recipe, and I was pretty pleased with the way it turned out. It did need a little tweaking though, which is why I’ll be making it again and will definitely post that this summer.
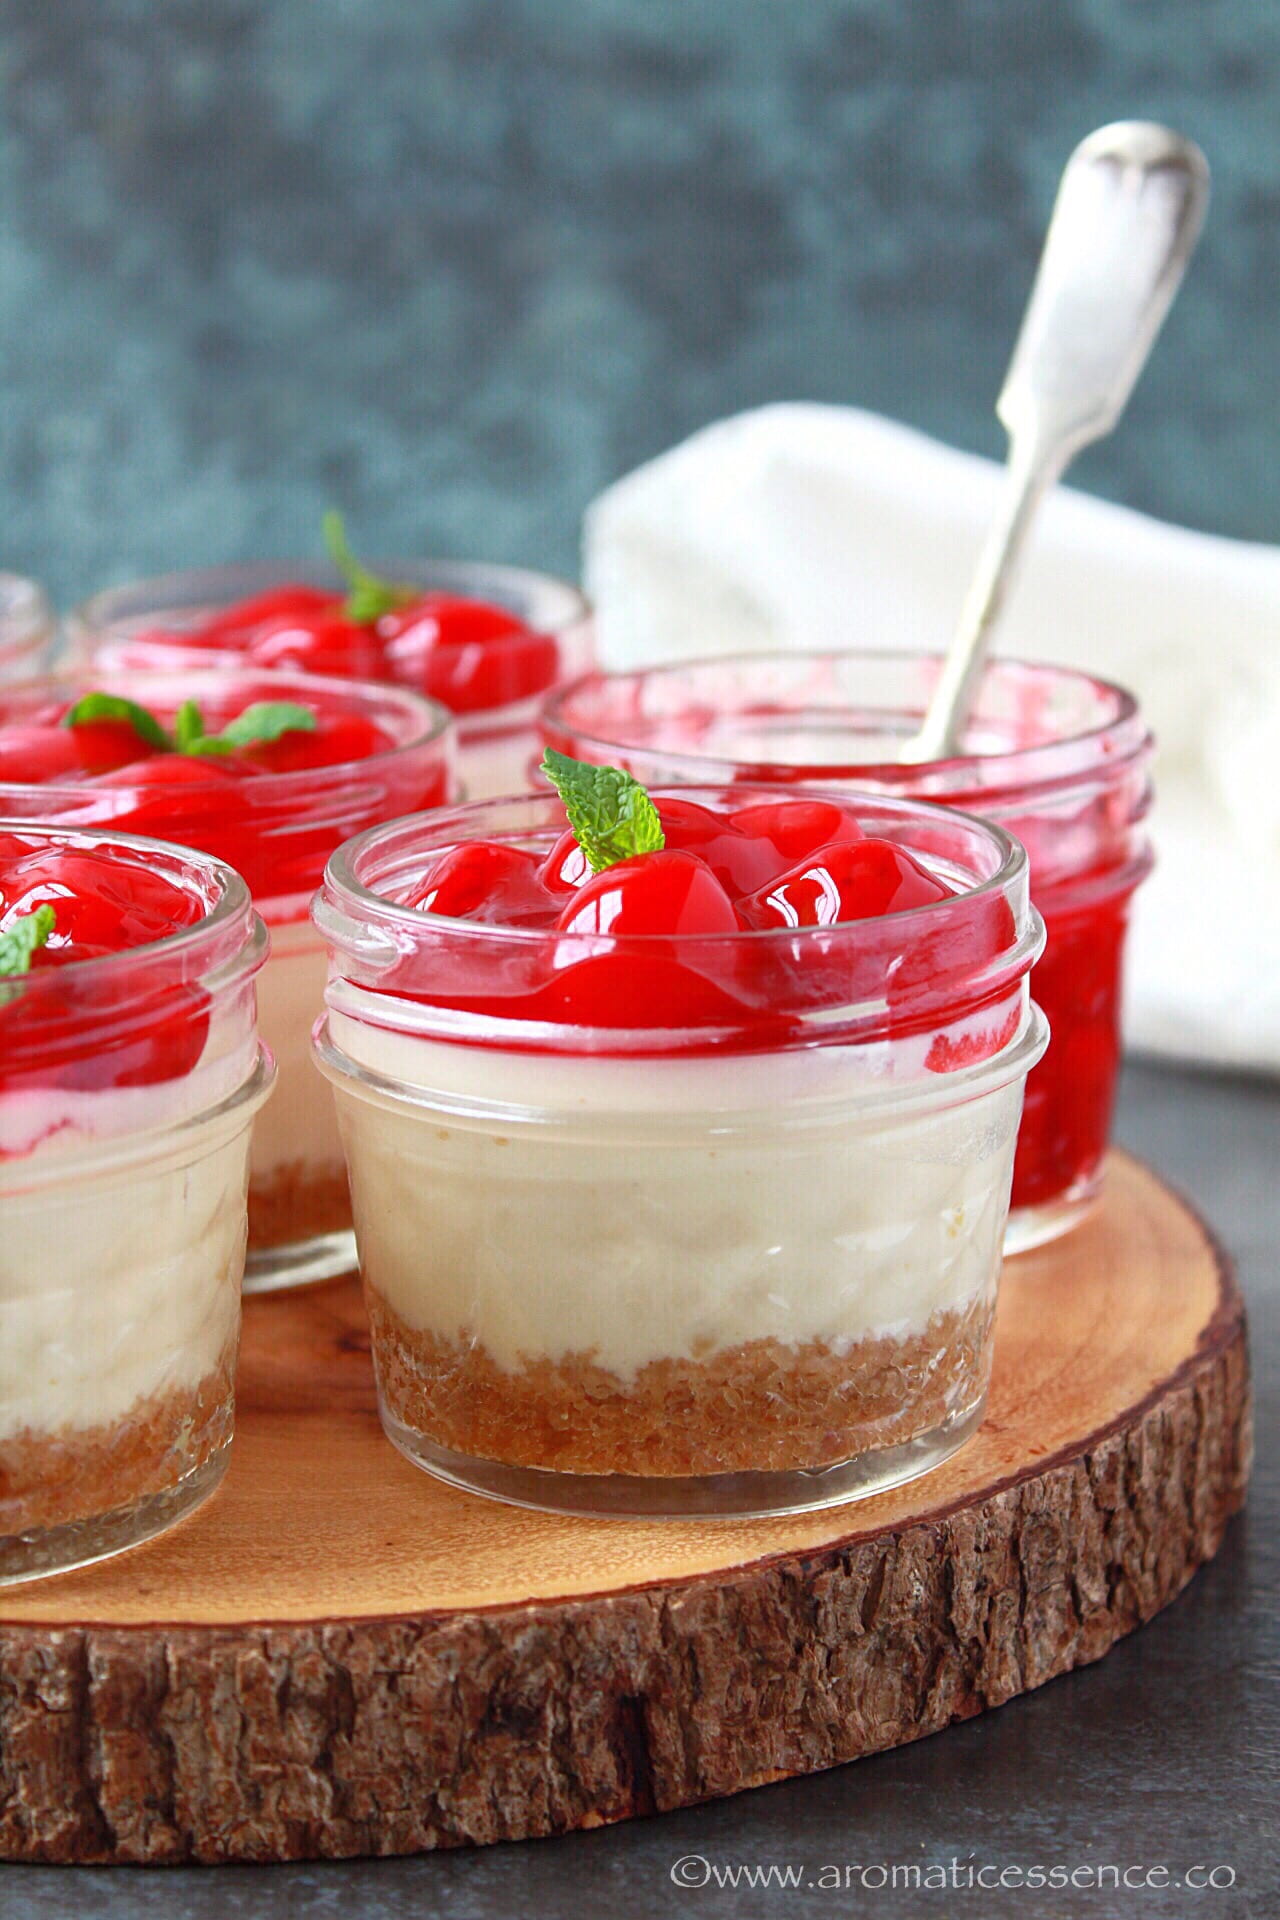
Don’t ya’ll love portion-controlled desserts? I know I do, and when it is presented in a Mason jar or glass, it looks even more appealing.
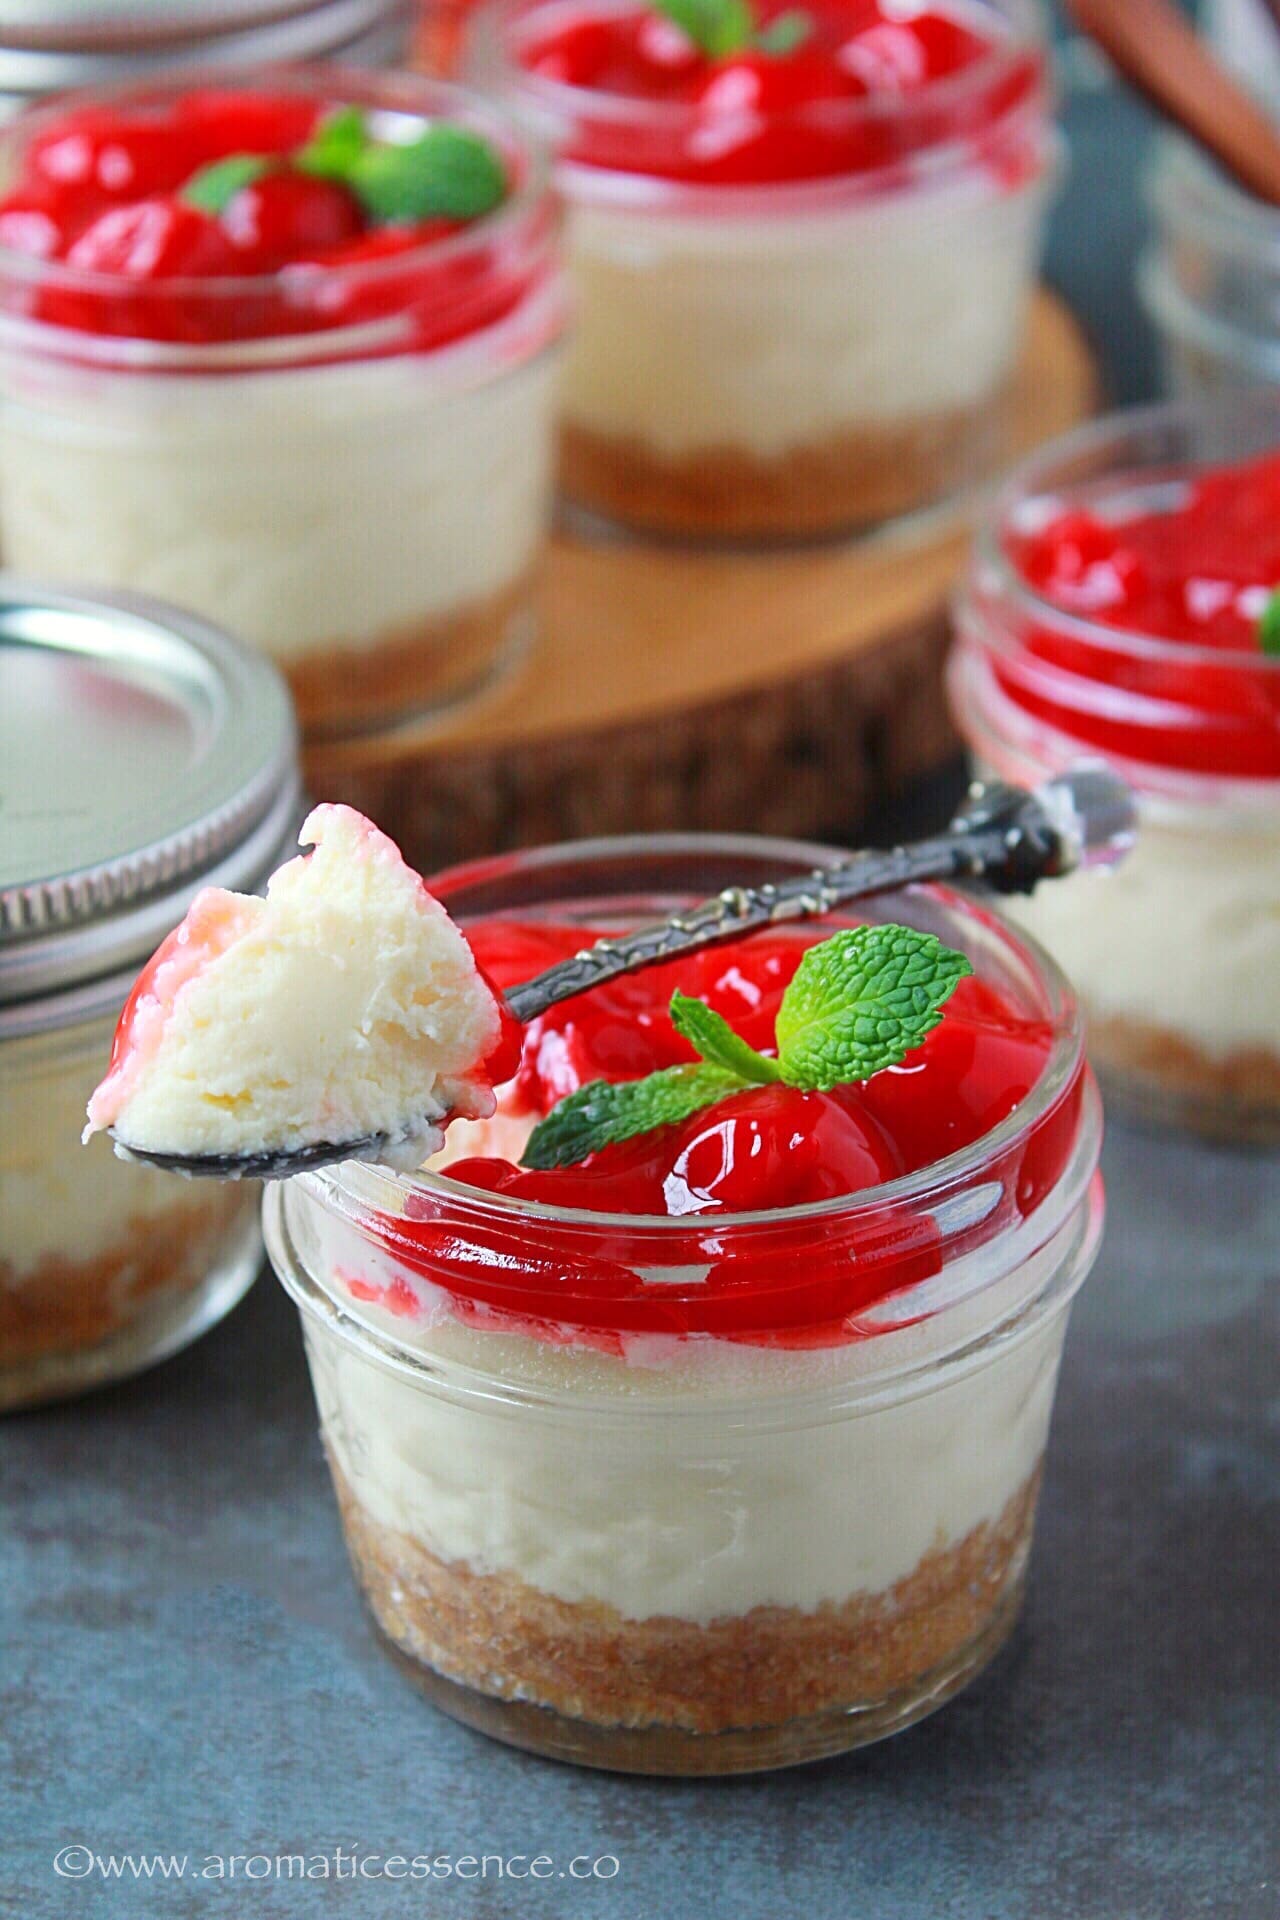
Even though the cheesecake sets in the 6 mins of cooking, you should still let it cool down completely and refrigerate it before enjoying it. The cheesecake tastes good even if it’s warm, but taste A-mazing once it’s chilled.
It’s super easy, convenient, portable and perfect to satiate those cheesecake cravings without having to make a big one.

- INSTANT POT CHEESECAKE IN JARS
- INGREDIENTS & EQUIPMENT REQUIRED TO MAKE INSTANT POT CHEESECAKE IN JARS
- STEP BY STEP INSTRUCTIONS TO MAKE INSTANT POT CHEESECAKE IN JARS | BAKED CHEESECAKE IN A JAR
- Instant Pot Cheesecake In Jars | Mason Jar Cheesecake
INSTANT POT CHEESECAKE IN JARS
Honestly, I am not a huge fan of the texture of a no- bake cheesecake. It is just creamy and lacks the texture of a baked cheesecake. But I also know it is super convenient to put together for a crowd and makes for an awesome summer dessert which is why I make some for an occasional party.
But if you want to enjoy the real deal cheesecake without having to bake a big one and then live with the guilt of eating more, over the next few days, then this Instant Pot cheesecake in jars is the ideal solution.
Y ou can enjoy all that baked cheesecake yumminess without having to turn the oven on! I think it a big bonus to get results that are on par with the baked cheesecake.
I’d insist you give this New York style, Instant Pot cheesecake in jars a try, you will definitely enjoy it!

Yes, there is an advantage of making cheesecake in the Instant Pot over the traditional oven. For one, you don’t have to turn on that oven, especially during summers and turn your house into a furnace.
We know that it is important to leave the oven door ajar so that the cheesecake cools down gradually and you can avoid that unsightly crack which we all despise for that ultimate and flawless looking baked cheesecake. You don’t have to worry about that when you make one in an Instant Pot.
The ingredients and procedure to make these Instant pot cheesecake in jars are the same as the oven-baked cheesecake. The only difference- this cheesecake is baked in the Instant Pot instead. (duh! I know!!)
INGREDIENTS & EQUIPMENT REQUIRED TO MAKE INSTANT POT CHEESECAKE IN JARS
For the cheesecake filling you will need the usual suspects i.e.,
- Cream cheese,
- Sugar
- Eggs,
- Sour cream
- And some vanilla extract
The crust is made with
- Graham crackers,
- Melted butter
- Sugar
You can use your favorite cookies here or use none at all for a crustless cheesecake if you prefer it that way.
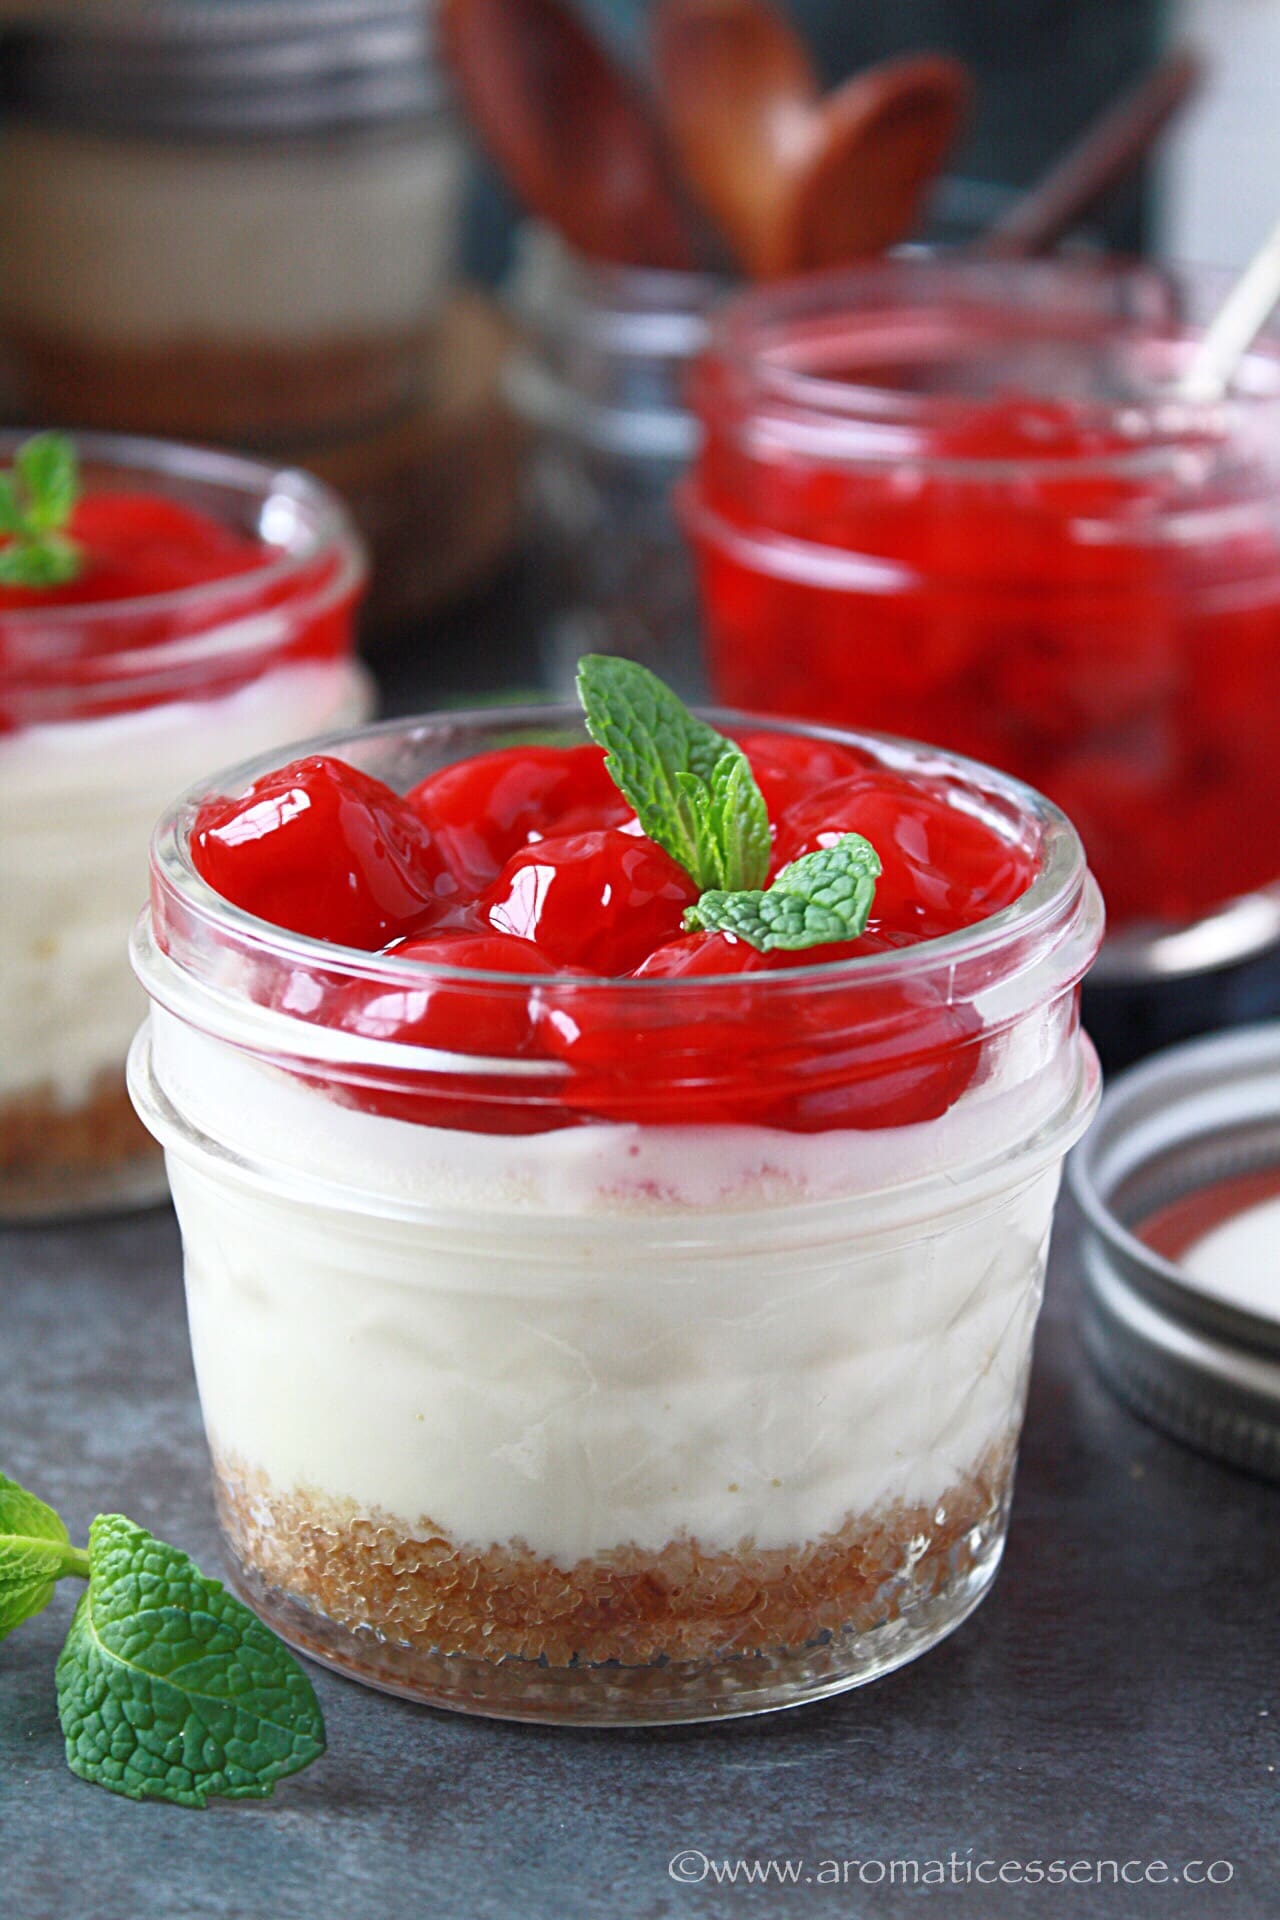
I’ve used these 4 oz Mazon jars, which I think is a decent serving size, and makes for a good portion-controlled dessert. Just apt for folks like me who can go overboard with desserts at times. Though you can go ahead and have two, I won’t judge 😀
I made these Mason jar cheesecakes in my 6qt Duo Instant Pot. You will need the trivet that came with the IP to place the jars.
Don’t have an Instant Pot and still want to make something as cute? Then make these little oven baked cheesecake cupcakes instead. They seve the purpose of portion-controlled desserts well too!
Let’s learn how to make Instant Pot cheesecake in jars!
STEP BY STEP INSTRUCTIONS TO MAKE INSTANT POT CHEESECAKE IN JARS | BAKED CHEESECAKE IN A JAR
1.Grind the graham crackers in a food processor or blender or crush them in a ziplock bag with a rolling pin. In a bowl, combine the crumbs with melted butter and sugar. Mix well.

2.Divide the crumb mixture between 5 Mason jars, press it down with the back of a spoon. Avoid applying too much pressure while pressing down the crust, just enough to keep it in place.
3.In the mixing bowl of your stand mixer, beat the cream cheese and sugar on low speed until smooth. You may use a hand blender or just a whisk too.

4.Add the egg and beat on medium-low speed until well incorporated.
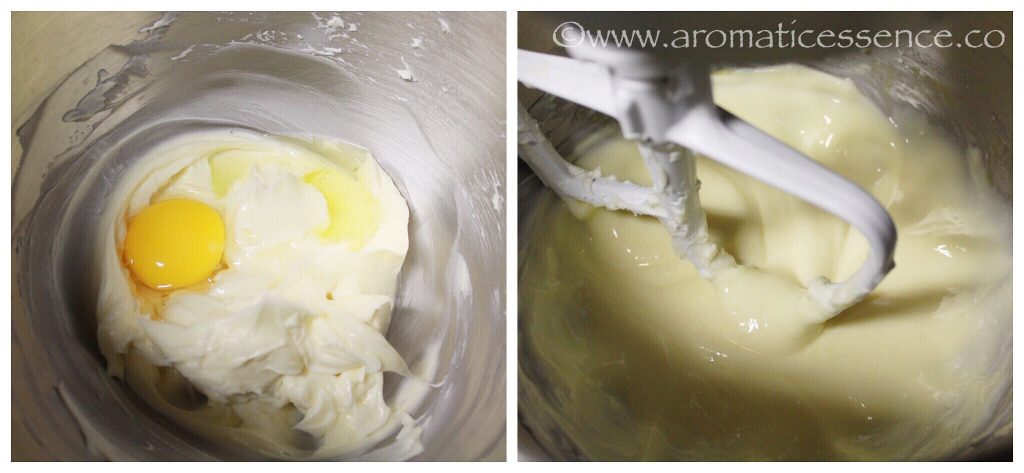
5.Add the sour cream and the vanilla extract and beat well to mix.

6.Pour about 4 tbsp of the cheesecake filling in the prepared graham cracker crust in each jar. Give it a gentle tap on your palms to eliminate any bubbles. Cover the jars with aluminum foil.

7.Add 1.5 cups of water into the inner steel pot of the Instant Pot. Place a trivet and place the jars on the trivet.

8.Close the lid of the Instant Pot, and set the valve to ‘SEALING’. Pressure cook on ‘HIGH’ for 6 minutes. It will take some time for the pressure to build up after which the timer will start.

9.Let the pot depressurize naturally, once the silver pin drops, turn the knob to ‘VENTING’ and open the lid.
10.Transfer the jars to a wire rack with the help of tongs. Let the cheesecake cool completely at room temperature, then refrigerate for another 5-6 hours.

11.Enjoy as such or top with your favorite toppings such as fruit compote, cherry pie filling, caramel etc

NOTES
- Make sure all the ingredients are at room temperature.
- Use low to medium speed the entire time whilst mixing ingredients. Do not beat on high speed or over beat as that will incorporate air in the mixture.
- This recipe makes 5 decent sized jars, you can stretch it to 6 jars by reducing the cheesecake filling to 3 tbsp in each jar.
- Cook time does not include time taken for pressure build-up and natural release.
- Update: Editing notes to mention that you can stack the jars offset over the trivet if you double the recipe. You can also skip the aluminum foil, and use the two-part top lids of the Mason jars. Cover the jar with the lid that has the rubber ring, then close the jar using the outer band, but do not tighten the lid all the way, just enough to cover the jar in order to prevent any condensation from dripping in it. Refer my pumpkin cheesecake jars post for pictorial reference.
- Update: I’ve also reduced to the quantity of the Graham crackers from 4 to 3 sheets in the recipe card, as I think 4 sheets made for a thicker crust.
HOW TO MAKE INSTANT POT CHEESECAKE IN JARS?

Instant Pot Cheesecake In Jars | Mason Jar Cheesecake
Equipment
- Instant Pot DUO60 6 Qt 7-in-1
Ingredients1x2x3x
Measuring cup used, 1 cup = 250 ml, 1 tsp = 5 ml
For the crust
- 1/2 cup Graham cracker crumbs, about 3 full sheets of Graham crackers
- 2 tbsp melted butter, unsalted
- 1 tbsp granulated cane sugar
For the cheesecake filling
- 8 oz cream cheese
- 1/4 cup sugar, you may increase to 1/3 cup if you like it sweeter
- 1/4 cup sour cream
- 1 large egg
- 1/2 tsp pure vanilla extract
Instructions
- Grind the graham crackers in a food processor or blender or crush them in a ziplock bag with a rolling pin. In a bowl, combine the crumbs with melted butter and sugar. Mix well.
- Divide the crumb mixture between 5 Mason jars, press it down with the back of a spoon. Avoid applying too much pressure while pressing down the crust, just enough to keep it in place.
- In the mixing bowl of your stand mixer, beat the cream cheese and sugar on low speed until smooth. You may use a hand blender or just a whisk too.
- Add the egg and beat on medium-low speed until well incorporated.
- Add the sour cream and the vanilla extract and beat well to mix.
- Pour about 4 tbsp of the cheesecake filling in the prepared graham cracker crust in each jar. Give it a gentle tap on your palms to eliminate any bubbles. Cover the jars with aluminum foil.
- Add 1.5 cups of water into the inner steel pot of the Instant Pot. Place a trivet and place the jars on the trivet.
- Close the lid of the Instant Pot, and set the valve to ‘SEALING’. Pressure cook on ‘HIGH’ for 6 minutes. It will take some time for the pressure to build up after which the timer will start.
- Let the pot depressurize naturally (about 15 minutes), once the silver pin drops, turn the knob to ‘VENTING’ and open the lid.
- Transfer the jars to a wire rack with the help of tongs. Let the cheesecake cool completely at room temperature, then refrigerate for another 5-6 hours.
- Enjoy as such or top with your favorite toppings such as fruit compote, cherry pie filling, caramel etc
Notes
- Make sure all the ingredients are at room temperature.
- Use low to medium speed the entire time whilst mixing ingredients. Do not beat on high speed or over beat as that will incorporate air in the mixture.
- This recipe makes 5 decent sized jars, you can stretch it to 6 jars by reducing the cheesecake filling to 3 tbsp in each jar.
- Cook time does not include time taken for pressure build-up and natural release.
- Update: Editing notes to mention that you can stack the jars offset over the trivet if you double the recipe. You can also skip the aluminum foil, and use the two-part top lids of the Mason jars. Cover the jar with the lid that has the rubber ring, then close the jar using the outer band, but do not tighten the lid all the way, just enough to cover the jar in order to prevent any condensation from dripping in it. Refer my pumpkin cheesecake jars post for pictorial reference.
- Update: I’ve also reduced to the quantity of the Graham crackers from 4 to 3 sheets in the recipe card, as I think 4 sheets made for a thicker crust.
Nutrition

I would love to hear from you, please feel free to share your feedback with photos and suggestions to me at aromaticessence77@gmail.com
You can also follow me on :
Facebook @ Aromaticessence
Pinterest @ Aromatic Essence
Instagram @ aromatic_essence77
Twitter @ freda_dias
Regards,
Freda
