This simple Instant Pot Chili is thick, rich, hearty, and packed with bold flavors. It is so easy to whip up a pot of chili in the pressure cooker, and it tastes like it’s been simmering all day long! Serve this chunky, delicious chili along with some homemade cornbread and your favorite toppings.

I hadn’t heard about chili until I moved to the US, I tasted it for the first time as a side at a popular Steak house, and the first thing that came to mind is that it tastes so much like the popular Indian dish, kheema matar with a pronounced cumin flavor and the additional beans.
I knew that I was going to go back home and make my version of it. Indian kheema is prepared with ground mutton/lamb and is heavily spiced and perfectly balanced, which we really love.
And that is how we love our chilli too, packed with bold flavors! And this IP chili is just that! It is well-balanced with my homemade chili seasoning mix.
I’m one of those people that can have curry 365 days of the year, thanks to my Indian genes 😀 So, I really don’t need a specific season to enjoy chili!
But I won’t deny, there is something more cozy and comforting about enjoying a bowl of chili on a cool, dreaded, winter’s night or a gloomy rainy day!

- Pressure cooker chili
- Ingredients needed to make Instant Pot Chili
- This is an awesome chili base recipe with plenty of room to make it your own
- Quick FAQs
- You may also enjoy these comforting Instant Pot recipes
- How to make Instant Pot Chili – Step by step instructions
- Instant Pot Chili Recipe
Pressure cooker chili
This pressure cooker chili is a sure shot crowd-pleaser, perfect for game day/tailgates or just about any party or a get-together. Set up a chili bar with your favorite toppings, your guests will definitely be impressed.
If you haven’t tried cooking chili in an Instant Pot, I have to urge you try it now. You can make one of the best chili’s of your life in the Instant Pot. The flavors are deep, complex, and so rich, that you may never go back to making one on the stovetop. Period!
The pressure cooking process basically takes place in a sealed environment with minimal evaporation. If seasoned well, the chili is infused with lots of flavor. You can make a pot of chili in the IP much faster than making one on the stove-top which requires simmering for hours with no compromise in taste. Try it!
While you could certainly dump all the ingredients for this chili, push a button and walk away, that is not the route I like to take when it comes to making my chili! We take our chili pretty seriously 😀
One simple reason for treating the ingredients at each step is to develop flavor. The browning of the meat, sauteing the aromatics, and the spices, the tomato paste, all add a depth of flavor at each stage. You can smell the wonderful aroma as you are cooking the chili. If you ask me, yes, it is worth the extra few minutes, so I do suggest not skipping it.

Ingredients needed to make Instant Pot Chili
For this IP chili recipe, I’ve used
- Lean ground beef
- Onions and bell peppers
- Freshly minced garlic
- Tomato paste
- Diced tomatoes
- My homemade chili seasoning blend is a mix of chili powder, ground cumin, Mexican oregano, chipotle chili powder, smoked paprika, cocoa powder, brown sugar, and of course some salt, and pepper. It is no secret that a little cocoa powder adds a depth of flavor and earthy richness to the chili.
- Canned beans
- Better than bouillon beef stock base
This is an awesome chili base recipe with plenty of room to make it your own
Chili is one of those dishes where everyone has their own preferences. For instance, some folks love a spicy chili, while some don’t like the heat, some prefer a very tomato-ey chili, while others don’t like it at all. Some may prefer a very thick chili, and others may like a soupy consistency.
A true Texas-style chili aka Chili con carne (which simply translates to chili with meat) does not have beans nor tomatoes. For some Texans, it would be blasphemy to add beans to their bowl of red, a strict no!
If you grew up eating chili with beans, that is the only way you probably enjoy it and will not be able to fathom how can one even enjoy a beanless chili.
If you are from Kansas, you probably enjoy your chili with some cinnamon rolls on the side.
There are several variations of this one beloved dish across the length and breadth of the country.
I’m sharing my version of the classic Chili con carne y frijoles, translated means chili with meat and beans because that is how we love our chili. Feel free to add your touch and make it your own!

Chili tastes better the next day, as the flavors have a chance to meld and develop. So, it is best prepared a day in advance. It freezes beautifully too. It is a great option to have at hand to fix something like chili cheese nachos or chili dogs in a snap!
Can I substitute the beef with chicken or turkey?
Yes, you absolutely can.
Can I skip the beans?
Feel free to skip the beans for a beanless chili.
How do I go about this recipe if I want to use dry beans?
Rinse about 1/2 cup each of dark red kidney beans and black beans under running water and soak the beans in about 4 cups water for 8-10 hours. Add it in instead of the canned beans and add more stock if needed just enough to cover the beans., pressure cook the chili for 15 minutes on ‘HIGH’ setting.
Do the canned beans get mushy since they are added before pressure cooking?
The beans do not get mushy. If you prefer, you can always add the rinsed beans in the end, and cook until heated through.
Can I skip the tomatoes?
If you love your chili without tomatoes or are allergic to it, simply skip it. You may add a dash of apple cider vinegar or malt vinegar, in the end, to add some acidity to the dish, this is completely optional though.
Alternatively, if you love a more tomato-ey flavor, add in about a 15 oz can of tomato sauce or crushed tomato. You may need to reduce the liquid to 3/4 cup (I’ve not tried this with more tomatoes than that mentioned in this recipe), or you can always turn on ‘SAUTE’ and cook down the chili till it thickens to your desired consistency.
Should I use the manual or Instant Pot chili setting?
I’ve tried both and haven’t found any difference. So, I simply hit the ‘MANUAL’ button and set the timer to 15 mins on the ‘HIGH” setting. You can use the pre-set chili button or manual button.
My chili is not as thick as I would like it, how do I thicken the chili?
Simply turn on ‘SAUTE’ and cook the chili, stirring occasionally until it reduces to your desired consistency.
You can also thicken it with either of the following methods;
- With cornstarch slurry
- Turn on ‘SAUTE’ and add about 2 tablespoons of masa harina, cook until the chili thickens. Do not add too much of masa harina or else it will overpower the flavor of the chili.
- Mash some beans, and cook on ‘SAUTE’ until the chili thickens. As the beans break apart, the starch released will thicken the chili.
- Grind some drained and rinsed beans, and add this to the chili to thicken it up.
Does this chili taste sweet because of the brown sugar?
The brown sugar basically balances out the acidity of the tomatoes, without imparting any sweetness to the chili. Having said that, if you like a sweeter chili, you can definitely add more brown sugar, to taste once you check for the final seasoning. You may also substitute the brown sugar with honey or regular granulated sugar.
My chili turned out too spicy? How to tone down the heat?
If your chili turns out too spicy for your liking, squeeze in some lemon juice in the end. Or add 1 teaspoon of sugar or honey at a time, mix and taste as you go. You can also throw in a can or two of drained, and rinsed beans, simmer the chili for a few minutes.
Alternatively, you could also throw in a square or two of dark chocolate or milk chocolate.
You could also serve the chili with a big dollop of sour cream, since dairy is great to tone down the heat. Chili with diced avocado is yet another variation you could try.
Can I double this IP chili recipe?
I haven’t tried doubling this recipe, I don’t think there is enough room to double this. You can try scaling the recipe to 1.5 times. You should be good to go as far as you don’t cross the max line.
How to freeze this Instant Pot chili?
Let the chili cool down completely.
Transfer individual serving portions to freezer-safe bags or containers, leaving an inch space between the chili and the lid.
Label the contents, and lay the bags in a single layer in the freezer, stack once it is frozen.
You can freeze chili for up to 3 months.
Thaw the chili in the refrigerator the night before. Reheat in the microwave or transfer to a small pot, and heat on low, stirring occasionally. Add some stock to adjust the consistency.
Topping suggestions
For the topping, choose a combination of your favorites
- Diced avocados or guacamole
- Shredded cheese
- Sour cream
- Freshly chopped cilantro
- Fresh or pickled jalapenos
- Green onions
- Chopped red onions
- Lime wedges
You can also consider adding these toppings
- Fresh bacon bits
- Tortilla chips or Fritos
- Shredded lettuce
- Salsa
You may also enjoy these comforting Instant Pot recipes
Corn potato chowder with bacon
Chicken noodle soup
Beef and barley soup
Tortellini sausage soup
How to make Instant Pot Chili –Step by step instructions
Step 1: Brown the beef
Press the ‘SAUTE’ button, set it to ‘MEDIUM’ heat, wait until it displays ‘HOT’. Add 1 tablespoon of olive oil, once it heats up, add 1 lb of lean ground beef, leave it undisturbed for 3-4 minutes. Break up the meat into small or large crumbles with a spatula or wooden spoon. Cook the beef until no longer pink and lightly browned.

Step 2: Add onion, bell peppers, and minced garlic
Next, add about 2 cups of chopped onions, 1 cup of chopped bell peppers, 1 tablespoon minced garlic and 1 seeded and diced jalapeno (if using). Cook, stirring frequently until the onions are translucent, about 2-3 minutes.

Step 3: Season
Add chili seasoning mix (3 tbsp Mexican chili powder, 1 teaspoon Mexican oregano, 1 teaspoon smoked paprika, 2 teaspoons ground cumin, 1 teaspoon chipotle chili powder, 1.5 teaspoons kosher salt, or to taste, 1 teaspoon ground black pepper, 1/2 tablespoon unsweetened cocoa powder, 1/2 tablespoon brown sugar, 1/4 teaspoon cayenne pepper)
Mix well, and saute for another 1-2 minutes or until the spices are fragrant.

Step 4: Add tomato paste
Add 1/4 cup tomato paste, and cook for another 1-2 minutes. Make sure there are no browned bits stuck at the bottom of the inner pot at this stage to avoid any potential ‘BURN’ message. If you do have some, add 1/4 cup of the stock and deglaze the pot by scraping all the browned bits with a wooden spoon.

Step 5: Add the beef stock, beans, and diced tomatoes
Add 1 cup of beef stock, 1-(14.5 oz) canned diced tomatoes along with the juice, 1-(15 oz) canned dark red kidney beans, drained and rinsed and 1-(15 oz) canned black beans, drained and rinsed. Mix everything gently.

Step 6: Pressure cook the chili
Press ‘CANCEL’, close the lid of the Instant Pot with the valve on ‘SEALING’ position. Press the ‘MANUAL’ or ‘PRESSURE COOK’ button and pressure cook on ‘HIGH’ for 15 minutes. It will take some time (about 12 minutes) for the pressure to build up, after which the timer will start.

Step 7: Natural pressure release (NPR) for 10 minutes
Let the pot depressurize for 10 minutes, then do a quick release of leftover pressure as per the manufacturer’s instructions. Once the float valve (silver pin) drops, open the lid.

Step 8: Serve


Notes
- I have made this recipe several times as is, without getting any ‘BURN’ notice, even though I mix everything before pressure cooking. If your IP is sensitive to the ‘BURN’ message, add the tomato paste, diced tomatoes, and tomato sauce (if using) on top and do not stir. Stir the contents well after the pressure cooking cycle.
- Adjust the seasonings to suit your palate or simply use a packaged chili seasoning such as McCormick’s.
- Leftovers can be refrigerated in an airtight container for up to 3 to 4 days.

You can also follow me on Facebook , Pinterest, Instagram & Twitter

Instant Pot Chili Recipe
Equipment
- Instant Pot DUO60 6 Qt 7-in-1
Ingredients1x2x3x
- 1 lb lean ground beef
- One large onion finely chopped, about 2 cups
- 1 red bell pepper finely chopped, about 1 cup
- 4 cloves of garlic finely minced, about 1 tablespoon
- 1 jalapeno, seeded and diced finely, optional
- 1 teaspoon Better than bouillon beef stock base dissolved in 1 cup of hot water, or 1 cup less-sodium beef stock
- 1/4 cup tomato paste
- 1- (14.5 oz) canned diced tomatoes, do not drain
- 1- (15 oz) canned dark red kidney beans, drained and rinsed
- 1- (15 oz) canned black beans, drained and rinsed
- 1 tablespoon olive oil
Chili seasoning mix
- 3 tbsp Mexican chili powder you may adjust depending on the heat level of you chili powder
- 1 teaspoon Mexican oregano
- 1 teaspoon smoked paprika
- 2 teaspoons ground cumin
- 1 teaspoon chipotle chili powder
- 1.5 teaspoons kosher salt or to taste
- 1 teaspoon ground black pepper
- 1/2 tbsp unsweetened cocoa powder
- 1/2 tablespoon brown sugar
- 1/4 teaspoon cayenne pepper or as per your desired heat levels I’ve not added
For the topping,
- Diced avocados or guacamole
- Shredded cheese
- Sour cream
- Freshly chopped cilantro
- Fresh or pickled jalapenos
- Green onions
- Lime wedges
Instructions
- Press the ‘SAUTE’ button, set it to ‘MEDIUM’ heat, wait until it displays ‘HOT’. Add the oil, once it heats up, add the ground beef, leave it undisturbed for 3-4 minutes. Break up the meat into small or large crumbles with a spatula or wooden spoon. Cook the beef until no longer pink and lightly browned.
- Next, add the chopped onions, bell peppers, minced garlic and diced jalapeno (if using). Cook, stirring frequently until the onions are translucent, about 2-3 minutes.
- Add chili seasoning mix, mix well, and saute for another 1-2 minutes or until the spices are fragrant.
- Add tomato paste, and cook for another 1-2 minutes. Make sure there are no browned bits stuck at the bottom of the inner pot at this stage to avoid any potential ‘BURN’ message. If you do have some, add 1/4 cup of the stock and deglaze the pot by scraping all the browned bits with a wooden spoon.
- Add the stock, the diced tomatoes along with the juice, drained and rinsed beans. Mix everything gently.
- Press ‘CANCEL’, close the lid of the Instant Pot with the valve on ‘SEALING’ position. Press the ‘MANUAL’ or ‘PRESSURE COOK’ button and pressure cook on ‘HIGH’ for 15 minutes. It will take some time for the pressure to build up, after which the timer will start.
- Let the pot depressurize for 10 minutes, then do a quick release of leftover pressure as per the manufacturer’s instructions. Once the float valve (silver pin) drops, open the lid.
- Give the contents in the pot a quick mix. Check for seasoning and adjust with more salt and pepper if required. If you’d like to thicken the chili further, turn on ‘SAUTE’ and cook until the chili reduces to your desired consistency or see other options listed in the FAQ above. The chili tastes delicious right away but so much better if it is allowed to sit for at least 30 minutes to overnight before serving, as the flavors have a chance to mingle and intensify.
Notes


Instant Pot Chili Recipe
Equipment
- Instant Pot DUO60 6 Qt 7-in-1
Ingredients
- 1 lb lean ground beef
- One large onion finely chopped, about 2 cups
- 1 red bell pepper finely chopped, about 1 cup
- 4 cloves of garlic finely minced, about 1 tablespoon
- 1 jalapeno, seeded and diced finely, optional
- 1 teaspoon Better than bouillon beef stock base dissolved in 1 cup of hot water, or 1 cup less-sodium beef stock
- 1/4 cup tomato paste
- 1- (14.5 oz) canned diced tomatoes, do not drain
- 1- (15 oz) canned dark red kidney beans, drained and rinsed
- 1- (15 oz) canned black beans, drained and rinsed
- 1 tablespoon olive oil
Chili seasoning mix
- 3 tbsp Mexican chili powder you may adjust depending on the heat level of you chili powder
- 1 teaspoon Mexican oregano
- 1 teaspoon smoked paprika
- 2 teaspoons ground cumin
- 1 teaspoon chipotle chili powder
- 1.5 teaspoons kosher salt or to taste
- 1 teaspoon ground black pepper
- 1/2 tbsp unsweetened cocoa powder
- 1/2 tablespoon brown sugar
- 1/4 teaspoon cayenne pepper or as per your desired heat levels I’ve not added
For the topping,
- Diced avocados or guacamole
- Shredded cheese
- Sour cream
- Freshly chopped cilantro
- Fresh or pickled jalapenos
- Green onions
- Lime wedges
Instructions
- Press the ‘SAUTE’ button, set it to ‘MEDIUM’ heat, wait until it displays ‘HOT’. Add the oil, once it heats up, add the ground beef, leave it undisturbed for 3-4 minutes. Break up the meat into small or large crumbles with a spatula or wooden spoon. Cook the beef until no longer pink and lightly browned.
- Next, add the chopped onions, bell peppers, minced garlic and diced jalapeno (if using). Cook, stirring frequently until the onions are translucent, about 2-3 minutes.
- Add chili seasoning mix, mix well, and saute for another 1-2 minutes or until the spices are fragrant.
- Add tomato paste, and cook for another 1-2 minutes. Make sure there are no browned bits stuck at the bottom of the inner pot at this stage to avoid any potential ‘BURN’ message. If you do have some, add 1/4 cup of the stock and deglaze the pot by scraping all the browned bits with a wooden spoon.
- Add the stock, the diced tomatoes along with the juice, drained and rinsed beans. Mix everything gently.
- Press ‘CANCEL’, close the lid of the Instant Pot with the valve on ‘SEALING’ position. Press the ‘MANUAL’ or ‘PRESSURE COOK’ button and pressure cook on ‘HIGH’ for 15 minutes. It will take some time for the pressure to build up, after which the timer will start.
- Let the pot depressurize for 10 minutes, then do a quick release of leftover pressure as per the manufacturer’s instructions. Once the float valve (silver pin) drops, open the lid.
- Give the contents in the pot a quick mix. Check for seasoning and adjust with more salt and pepper if required. If you’d like to thicken the chili further, turn on ‘SAUTE’ and cook until the chili reduces to your desired consistency or see other options listed in the FAQ above. The chili tastes delicious right away but so much better if it is allowed to sit for at least 30 minutes to overnight before serving, as the flavors have a chance to mingle and intensify.
Notes
This easy, strawberry topping for cheesecake, requires only a few ingredients and tastes so delicious. If you are looking for a simple sauce to dress up your next cheesecake, this strawberry topping is it! You will love the simplicity of this sauce. It is not only great for cheesecakes but is great for topping waffles, French toast, pancakes, ice cream, and the likes!
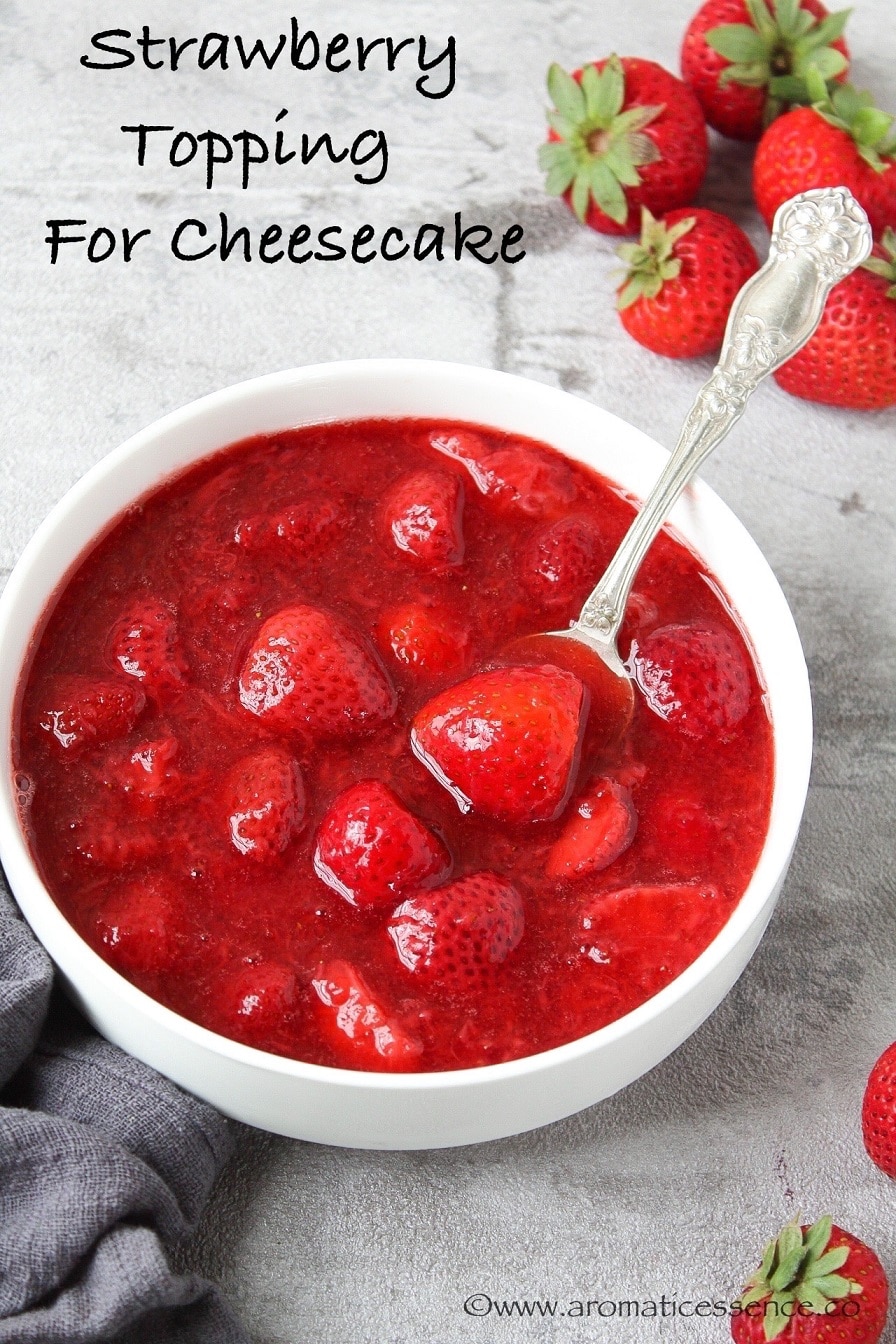
I’m not really a fan of canned fruit toppings, but do use it in a pinch, as I did for my cheesecake jars . It does make life easier, but seriously, I would rather use homemade fruit toppings/sauce.
This homemade strawberry topping is simple enough to jazz up a plain cheesecake and make it look all fancy. It is so delicious that it can be eaten on its own 😀 So, you should definitely consider using this strawberry topping for your next cheesecake.
